As you start your next paint project, it’s important to make sure that your walls are properly prepped and ready for a fresh coat of paint. Not every project that you tackle will involve this multi-step process of getting your walls in shape for paint, but it’s good to double check all surfaces so your project is a success. Properly caring for your walls before you begin the painting process will not only ensure a smooth, easy application, but also help your paint last longer. Before you paint, follow these steps!
Remove Everything From Walls
This might be stating the obvious, but making sure your walls are free from any foreign objects or debris will make your job a lot easier when you start to paint. This includes removing large items such as art or shelves, as well as the nails and screws that were holding those items in place. At this time, you should also remove any electrical socket or light switch covers.
A question that often comes up is, “can we paint over wallpaper?” And the answer is no, we highly recommend not painting over wallpaper. We know it is sometimes a hassle to remove it first, but even the highest quality paint will not cover wallpaper seams. Depending on the texture or sheen of the wallpaper, you could have trouble with the application as well. That being said, you should also remove all wallpaper before painting.
Clean Walls
Cleaning your walls is a key step in prepping your walls for paint. You don’t want any dirt or grime getting stuck under your fresh paint, so it’s best to start with a clean surface. Most walls will be good after wiping them down with warm water and a sponge as they might just have light dust or debris on them. However, if you are painting an area that has been exposed to grease or other substances such as kitchen walls, you can add a soap with grease cutting qualities to your warm water and wipe them down with a sponge. If you are using a detergent of any kind on your walls, make sure to wipe them down with clean water afterwards.
If you run into an area with mildew, which is common in bathrooms, you will need to remove the mildew before beginning to paint. You never want to paint over mildew as it can grow through the paint, which will make any future cleaning or maintenance much more difficult. To clean the mildew, use a sponge and a solution that is three-to-four parts water to one part bleach. After you apply the solution, allow it to sit for a few minutes. You can then scrub the surface with a soft brush, and rinse the area with clean water.
After cleaning, the next step is to allow your walls to completely dry before painting. Painting over damp walls can cause many issues throughout the painting process and affect the end product.
Repair Damages
Over the years, your walls may have been exposed to some wear and tear. Whether your damages are large and require new drywall, or are just small holes that need patched, it’s important to repair those before painting so that the finished product is smooth. Covering any imperfections will also help keep your paint from chipping, making your work last longer.
Sand the Surface
Any rough spots on your walls should be sanded down before you paint. This isn’t always a necessary step, but a smooth surface ensures a smooth paint application, so it’s a good idea to take some time to inspect the walls for uneven surfaces. If your walls were previously painted with a gloss or high-gloss paint, this step should not be skipped or you may experience issues with your paint application. Be sure to also look out for any chipped or flaking paint, you will not want to paint over those areas without sanding or scraping the flaking paint.
Once you have smoothed your surfaces, you will want to make sure you clean the dust off with clean water. Remember, let your walls dry completely before applying a fresh coat of paint.
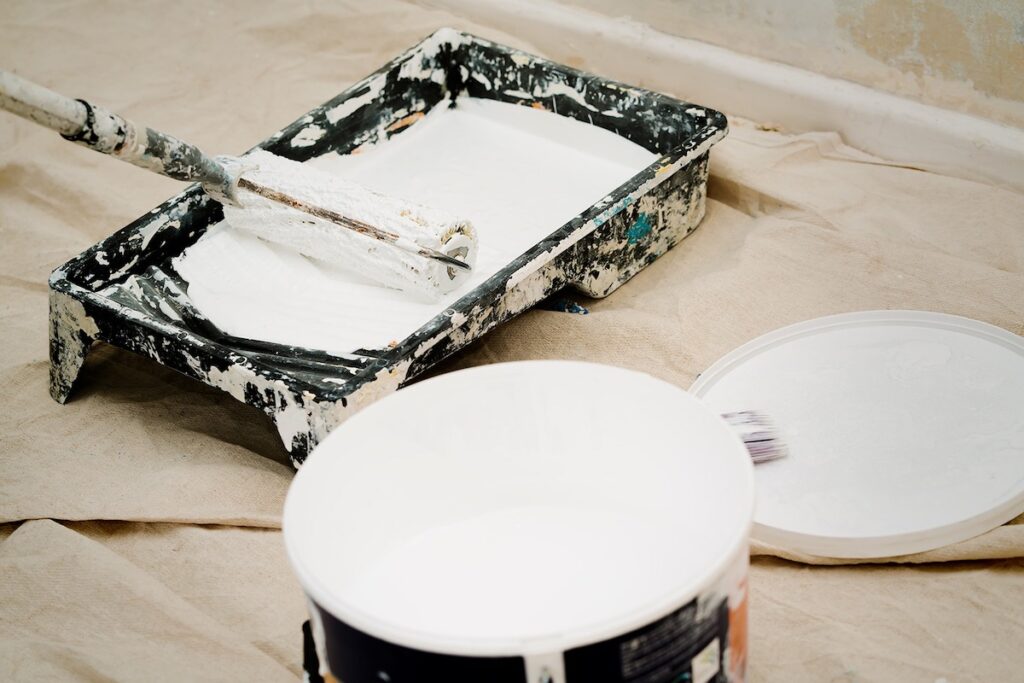
Prime Walls
The last step before you apply the paint color of your choice is to prime your walls. Using a quality primer will help you get the most out of your paint, and ensure you end up with an even application. Primer will disguise any imperfections on your walls and help cover existing paint colors so that they don’t show through. Starting with a good base will help you achieve success with your next paint project.
The professionals at U.S. Pro Painters can help you get the job done, and leave you with a finished product that you’re proud of. Request your free estimate today and let us take on your next project!
