
Staining your deck and wood surfaces around your home is one of the best ways to enhance curb appeal. It also aids in preserving your wood surfaces over time. There are many things to consider when starting your deck staining journey, such as which stain to choose, how to properly prep your wood surfaces, and how to preserve the stain after the job is done. We have laid out some tips to help you navigate this process.
What Stain Should You Choose?
First and foremost, you have to choose a stain that’s right for the job. There are a lot of choices when it comes to stains for your deck, and choosing the correct one is vital. Which one looks best, lasts longest, and is easiest to work with? These are all great questions.
We recommend a solid color stain on decks instead of semi transparent, as semi transparent tends to wear off faster. Solid stain is non-penetrable and works as a top coat finish, and can prevent the wood from becoming chipped and flaked. Solid color stain doesn’t typically contain the antifungal agent though, so be sure to add that to prevent any green growth from forming on the wood. Solid color stain is also a great option for any wood furniture you may have, and it will provide a nice finish.
How to Prepare for Deck Staining
Similar to any paint job you are doing, proper preparation is necessary to get a nice looking finished product. Wood surfaces need to be free of dirt, debris, and stains before getting started. This would also be a good time to repair any damages you notice or replace boards that have rotted.
To clean the deck, first brush off the surface with a broom and clear away any debris that may be sitting on the deck. Be sure to clean between boards using a tool such as a putty knife. We also recommend power washing your deck before staining, which will not only clean the wood, but also open the pores of the wood to get it ready for staining. After you do this, you will need to wait a few days to a week to let the wood dry out completely before applying the stain.
Applying the Stain
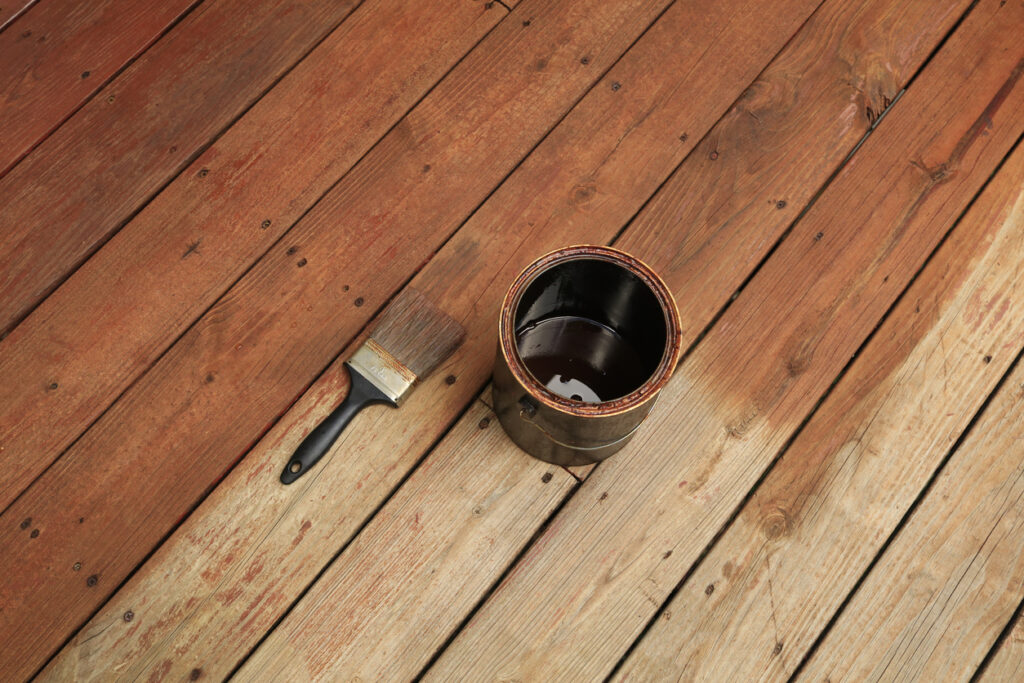
After the prep work has been done and you’ve chosen the right stain, it’s time to actually apply it. Be sure you are utilizing the correct tools for the best results. You can either use a roller or a brush, but a brush will offer more precision. It’s also important to apply the stain in thin layers, so whether you are using a roller or a brush, you want to ensure it isn’t allowing the stain to pool in any areas. Finally, apply two coats to ensure no spots have been missed and you are left with a smooth finish.
Preserving The Stain
Now that you’ve put in the work of staining your deck and wood surfaces, you want to preserve it as long as possible. Taking proper care of your wooden surfaces will not only keep them looking new for longer, it will also protect the wood and keep you from having to make frequent repairs.
For best long term results, we recommend cleaning your deck regularly, and paying attention to any issues you see so you can take care of it before it turns into a larger problem. Simply sweeping debris from your deck and inspecting it regularly is a good first step. Also, be sure to clean up any food stains, bird droppings, or other dirt as soon as you notice it.
Another good tip is to move any furniture or planters around and don’t let them sit in one place too long. This will help the wood breathe and prevent damage that can be done from long-term wear on the wood.
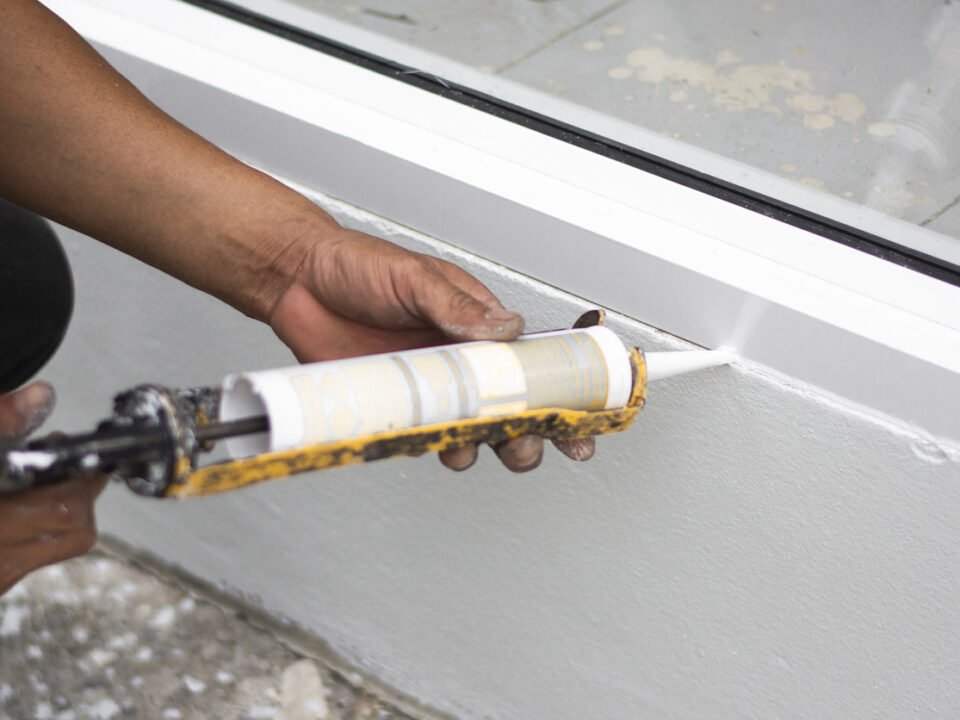
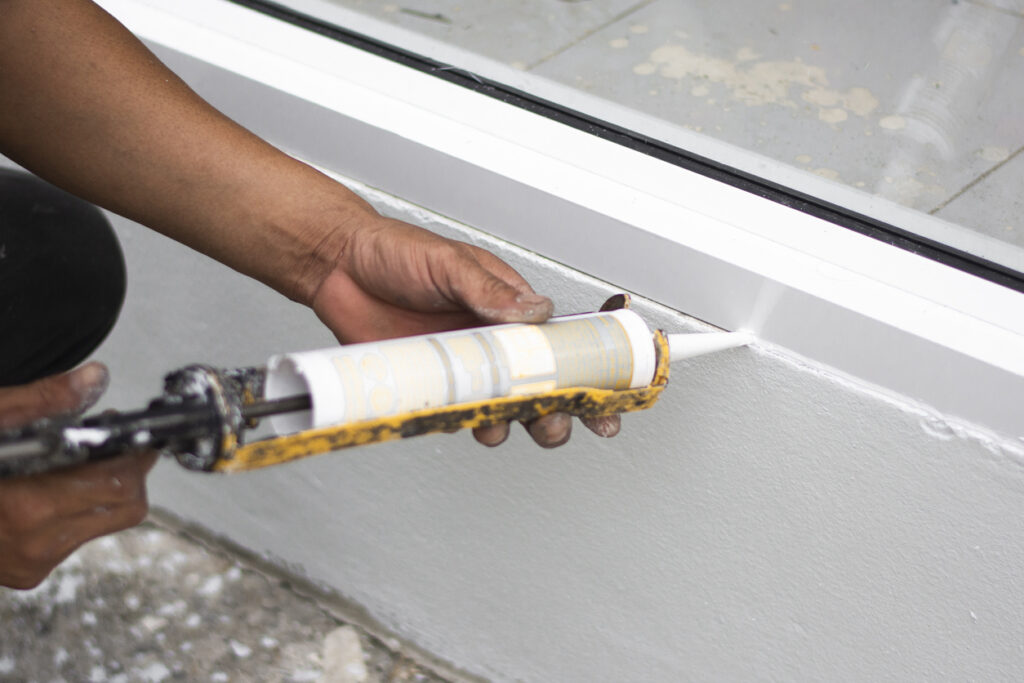
And lastly of course, keep your deck sealed. This is the best way to protect the wood that is in high traffic areas and exposed to the elements!
Work With the Professionals
Staining your deck can be a tedious task, and we’re here to help! We can take care of staining and finishing your wood surfaces, and even replace any boards that have been damaged. Schedule your service with us today!

